Skip to content
 You’ve just taken the perfect photo. The lighting is divine, the composition is flawless. You go to upload it to your website or Instagram, and you’re hit with the dreaded message: “File is too large.”
We’ve all been there. Your heart sinks. The immediate thought is, “If I make it smaller, it’s going to look all pixelated and blurry.” So, you either abandon the post or upload a grainy version of your masterpiece.
What if I told you that you never have to make that compromise again?
Resizing an image and maintaining its quality isn’t some dark art reserved for graphic designers with expensive software. It’s a simple, accessible process thanks to a host of incredible free online image resizers.
In this definitive 2025 guide, we’ll explore the 10 best free online tools that let you resize your images precisely without sacrificing that crystal-clear quality. We’ll also dive into the why and how, so you can resize images with confidence.
Why Resize Images? It’s Not Just About File Size
Before we jump into the tools, let’s quickly understand why resizing is a non-negotiable skill in today’s digital world.
- Website Performance: Large images are the number one cause of slow-loading websites. According to a Google study, as page load time goes from 1 second to 10 seconds, the probability of a user bouncing increases by 123%. Resizing your images reduces page load time, improves user experience, and boosts your SEO (Google loves fast sites!).
- Social Media Requirements: Every platform—Instagram, Facebook, LinkedIn, Pinterest—has its own ideal image dimensions. Uploading a correctly sized image ensures it displays perfectly without awkward cropping or compression.
- Email and Storage: Trying to email a 10MB high-res photo? Most email servers will block it. Resizing saves space in your cloud storage and makes sharing via email or messaging apps a breeze.
- Professional Presentation: Whether it’s for a presentation, a flyer, or a professional portfolio, using images of the correct size and resolution looks polished and deliberate.
The Golden Rule: Resizing vs. Compressing
This is the most important concept to grasp. Many people confuse resizing with compressing.
- Resizing changes the dimensions of an image (e.g., from 4000×3000 pixels to 1000×750 pixels). This directly reduces the file size by reducing the number of pixels.
- Compressing reduces the file size by removing some data from the image, which can lead to a loss in quality (often seen as “artifacts”).
The best practice is to first resize your image to the exact dimensions you need, and then, if necessary, compress it slightly to shave off a few more kilobytes without visible quality loss. The tools on this list excel at the first part—intelligent resizing.
The Top 10 Free Online Image Resizers for 2025
Here are our hand-picked contenders, each with its own superpower.
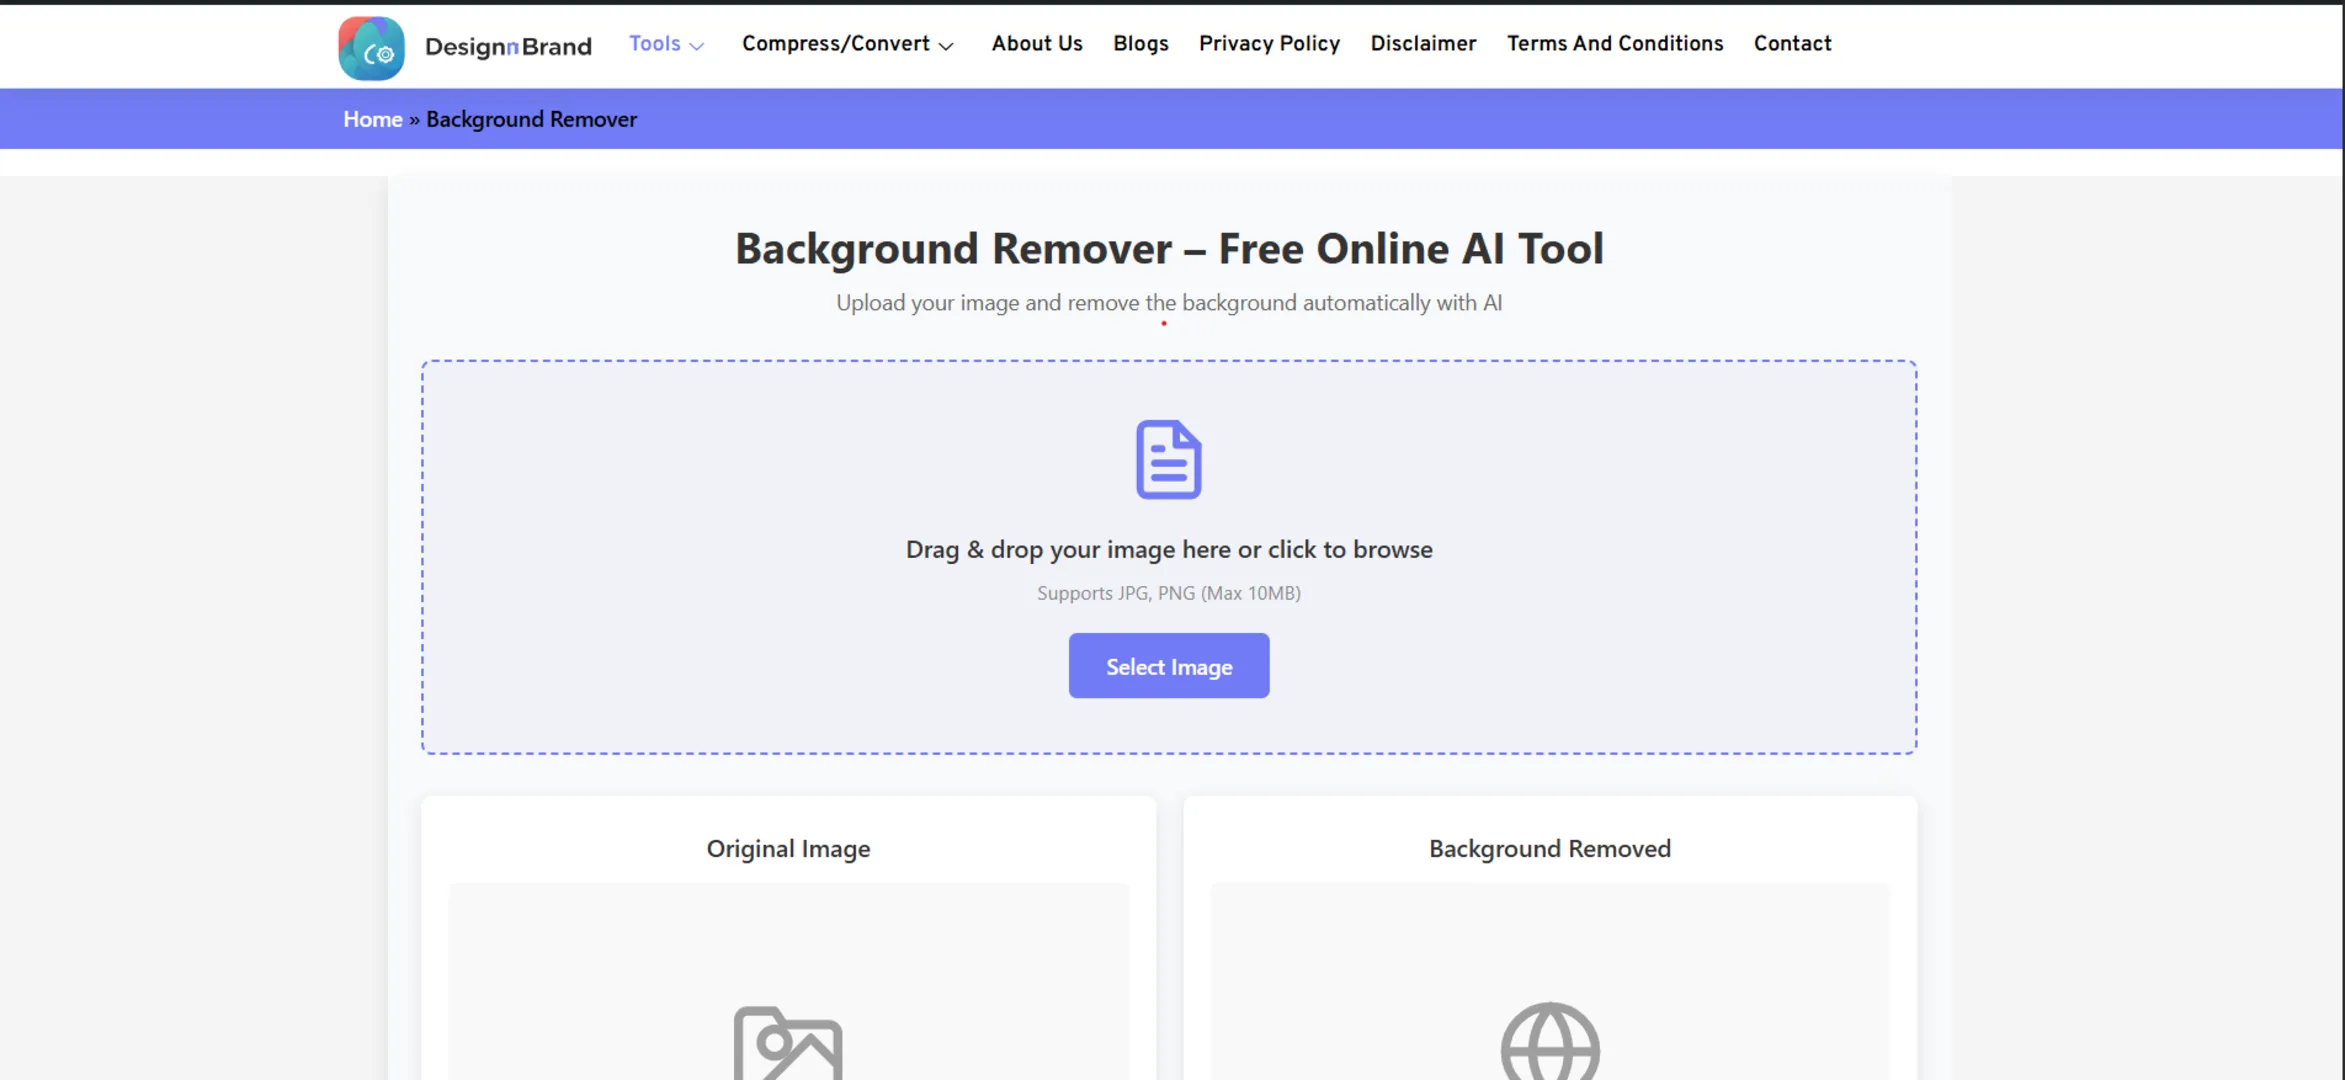
1. DesignNBrand Image Resizer
A fantastic all-rounder that’s both powerful and incredibly easy to use.
- Best For: Quick, bulk resizing with preset social media formats.
- Key Features: Allows you to resize by dimensions, percentage, or choose from pre-set social media sizes (Instagram post, Facebook cover, etc.). Its bulk resize feature is a huge time-saver if you have multiple images. The interface is clean and the process is fast.
- How to Use It: Upload your image, select your desired output (pixels, %, or preset), and download. The quality remains sharp, and you can often choose the output format (JPG, PNG).
- Why We Love It: It’s a dedicated tool that does one job perfectly, without ads or clutter. For a straightforward, high-quality resize, this is often the fastest route from problem to solution.
2. Adobe Express Image Resizer
When a name like Adobe is behind a free tool, you know it’s going to be good.
- Best For: Users who want brand-name reliability and extra editing features.
- Key Features: Part of the Adobe Express suite, this tool offers one-click resizing for dozens of social media and standard print formats. You can also customize dimensions freely. After resizing, you can jump into other edits like adding text, filters, or graphics.
- How to Use It: Go to Adobe Express, select “Resize image,” choose a template or enter custom size, and apply.
- Why We Love It: The power of Adobe’s image-processing algorithms ensures top-tier quality output. The integration with a full design suite is a massive bonus.
3. Canva Image Resizer
A favorite among bloggers and social media managers, Canva makes resizing intuitive.
- Best For: Social media managers and content creators.
- Key Features: While known as a design platform, Canva has a powerful resize feature. Its unique “Magic Resize” lets you create a design once and then instantly resize it for multiple other platforms with one click.
- How to Use It: Create a design or upload an image to a custom-sized design on Canva. Click “Resize,” choose your new platforms, and watch it adapt.
- Why We Love It: The “Magic Resize” functionality is a game-changer for repurposing content across different channels efficiently.
4. Fotor Image Resizer
A robust online photo editor with a strong and simple resizing function.
- Best For: Those who need to resize and then perform other common edits (brightness, contrast, etc.).
- Key Features: Offers resizing by dimensions, percentage, or preset common ratios. It maintains a high quality by default and allows you to see a preview before downloading.
- How to Use It: Upload your image to Fotor, click “Resize,” input your values, and apply. You can then continue editing or download immediately.
- Why We Love It: It’s part of a seamless editing workflow. You don’t have to leave the site to make other quick adjustments.
5. Pixlr X Image Resizer
A powerful, browser-based editor that feels like a lightweight version of Photoshop.
- Best For: Users who want more advanced control over the resizing process.
- Key Features: Pixlr offers a “Resize Image” tool under the “Image” menu. It allows you to constrain proportions and choose the resampling method (e.g., Bilinear, Bicubic), which gives you finer control over how the pixels are recalculated for the best quality.
- How to Use It: Open your image in Pixlr X, navigate to Image > Resize Image, enter your dimensions, and hit “OK.”
- Why We Love It: The advanced resampling options are great for tech-savvy users who want to optimize for specific types of images (e.g., illustrations vs. photographs).
6. Simple Image Resizer
True to its name, this tool is the definition of simplicity and speed.
- Best For: The quickest possible resize job with zero fuss.
- Key Features: A no-frills interface where you upload, choose a size from a dropdown (or enter a custom one), and download. It supports JPG, PNG, and WEBP.
- How to Use It: The three-step process on Simple Image Resizer is impossible to mess up: Upload -> Select Size -> Download.
- Why We Love It: Sometimes you just need to get a job done. This site has minimal ads and loads instantly, making it the perfect “quick fix” tool.
7. Befunky Image Resizer
Another excellent all-in-one editor that includes a very competent resizing tool.
- Best For: Users who appreciate a clean, modern interface and a smooth workflow.
- Key Features: Under the “Edit” menu, you’ll find the “Resize” option. You can resize by exact pixels, percentage, or even set a maximum width or height. The quality preservation is excellent.
- How to Use It: Open your image in Befunky’s editor, click “Resize,” input your values, and apply.
- Why We Love It: The user experience is slick and intuitive, making the process feel effortless.
8. PhotoPea
This is the hidden gem for power users. Think of it as a free, in-browser clone of Adobe Photoshop.
- Best For: Designers and advanced users who need pixel-level control.
- Key Features: To resize an image in PhotoPea, you go to Image > Image Size. Here you can see the current dimensions, change the units (pixels, inches, cm), and control the resolution (DPI). The resampling algorithms are professional-grade.
- How to Use It: It has a steeper learning curve but offers the most control. Open your image in PhotoPea, navigate to Image > Image Size, adjust your settings, and click OK.
- Why We Love It: It’s the most powerful option on this list, capable of handling complex tasks far beyond simple resizing.
9. iLoveIMG Image Resizer
iLoveIMG is a suite of tools, and its resizer is as reliable as its famous compressor.
- Best For: Batch processing multiple images at once.
- Key Features: Alongside single image resizing, it offers a robust bulk image resizer. You can set a custom size or resize by percentage for all your images simultaneously.
- How to Use It: Select the “Resize Image” tool on iLoveIMG, upload your files (multiple at once), choose your resize method, and hit “Resize Images.”
- Why We Love It: The batch processing capability is a massive time-saver for projects like creating thumbnails for a whole blog series or preparing product images for an online store.
10. ResizePixel
A modern, privacy-focused tool that gets the job done efficiently.
- Best For: Users who are conscious of privacy and want a clean, ad-free experience.
- Key Features: ResizePixel offers a straightforward resizing tool with a promise that all files are encrypted and automatically deleted after a few hours. It supports various formats, including the modern WEBP.
- How to Use It: Visit ResizePixel, upload your image, set your desired width and height, and download the result.
- Why We Love It: The strong privacy policy provides peace of mind when working with sensitive or confidential images.
Pro Tips for Resizing Images Without Losing Quality
- Start with the Highest Quality Original: Always resize from the best quality image you have. You can’t add quality back in.
- Maintain Aspect Ratio: Always keep the “Constrain Proportions” or “Maintain Aspect Ratio” box checked. This prevents your image from looking stretched or squashed.
- Upscaling is a Myth: While AI tools are getting better, significantly increasing the size of a small image (e.g., from 500px to 3000px) will almost always result in a blurry, pixelated image. Resizing is best for making images smaller.
- Choose the Right Format:
- JPG: Best for photographs with lots of colors.
- PNG: Best for images with text, logos, or transparent backgrounds.
- WEBP: A modern format that offers superior compression and quality characteristics for both images and transparent images. It’s widely supported now and is a great choice for the web.
Frequently Asked Questions (FAQ)
Q: What does “losing quality” actually mean?
A: It means the image becomes blurry, pixelated (where you can see individual square pixels), or loses sharp detail. This happens when the software doesn’t properly recalculate the pixel information during the resizing process.
Q: Can I resize an image to make it larger?
A: You can, but with major caveats. Enlarging an image is called “upscaling.” Standard resizing tools will simply make the existing pixels bigger, resulting in blurriness. For this, you need specialized AI image upscalers like Upscale.media or Let’s Enhance, which use artificial intelligence to intelligently add detail.
Q: What is the best image format to save after resizing?
A: For web use, WEBP is the modern champion for balancing quality and file size. If you need wider compatibility, use JPG for photos and PNG for graphics with transparency.
Q: Is it safe to use free online image resizers?
A: Generally, yes, especially with reputable tools from companies like Adobe or Canva. However, for sensitive documents, opt for tools like ResizePixel that explicitly state they delete files from their servers. For the ultimate safety, you can use offline software like GIMP.
Conclusion: Your Perfect Resizing Workflow
With these 10 tools at your disposal, the “file too large” error is a problem of the past. Here’s a simple workflow to follow:
- Identify Your Need: Are you resizing one image or many? Do you need a specific social media size?
- Choose Your Tool:
- For speed and simplicity, start with the DesignNBrand Image Resizer.
- For batch processing, use iLoveIMG.
- For integration with design, use Canva or Adobe Express.
- For advanced control, use Pixlr or PhotoPea.
- Resize and Save: Follow the tool’s instructions, always maintaining the aspect ratio.
- Compress (If Needed): If the file is still too large after resizing, run it through a compressor like TinyPNG.
The ability to quickly and correctly resize images is a fundamental digital skill. It makes your websites faster, your social media sharper, and your professional work stand out. So, pick a tool from this list and start optimizing your visuals today